Tone and Tighten
Real Fitness For Real People
Side dish
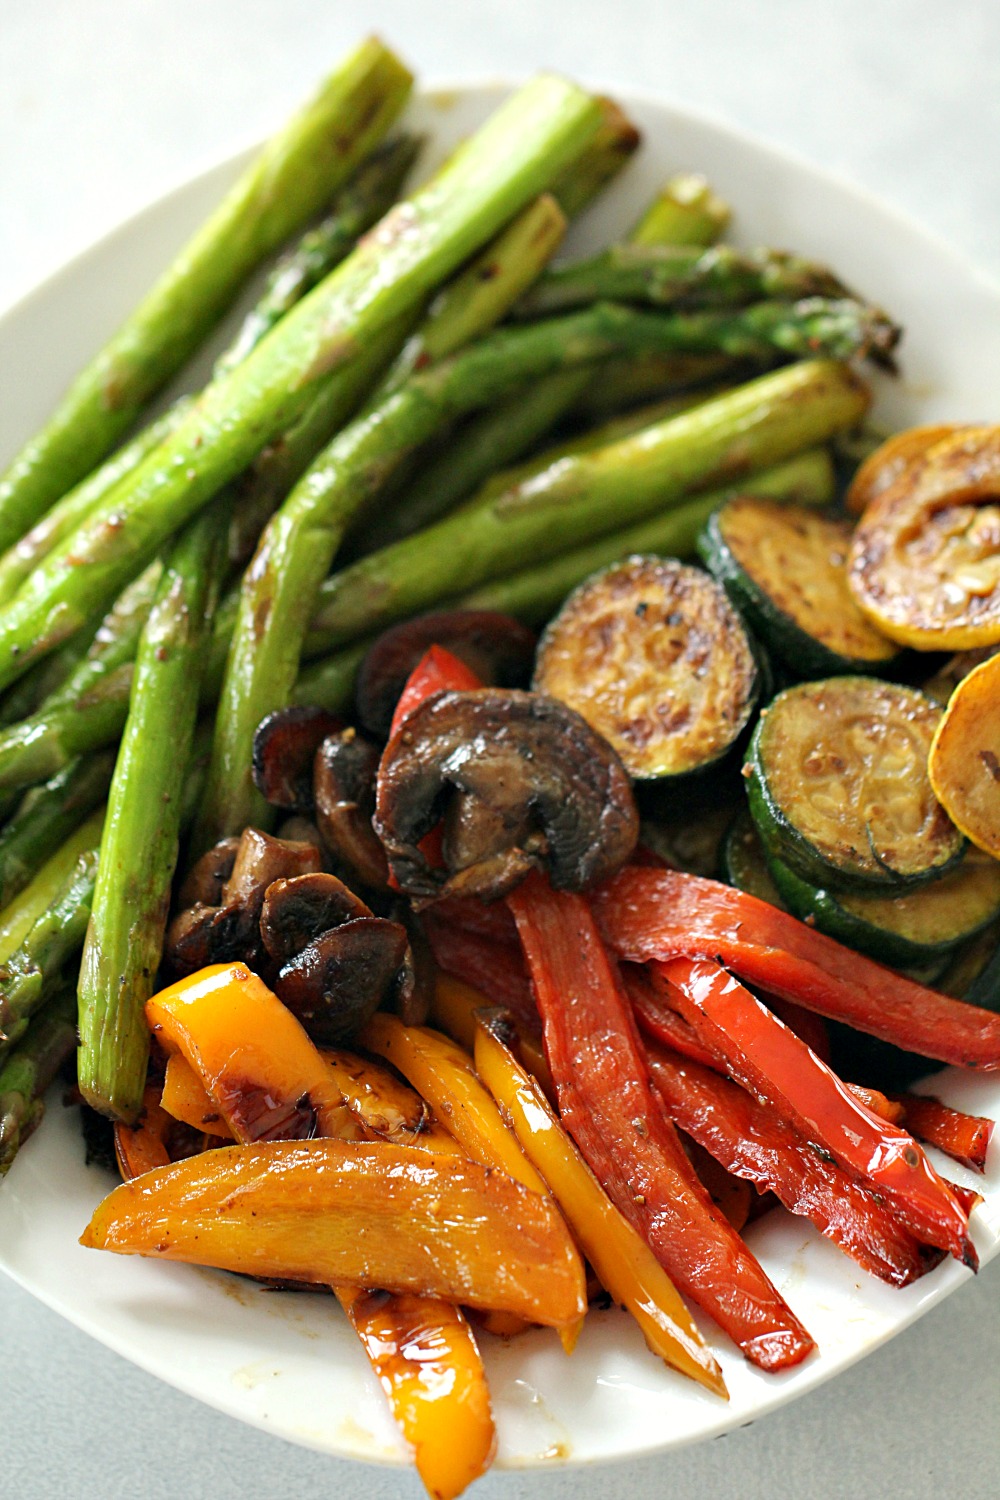
Caribbean Jerk Grilled Vegetables
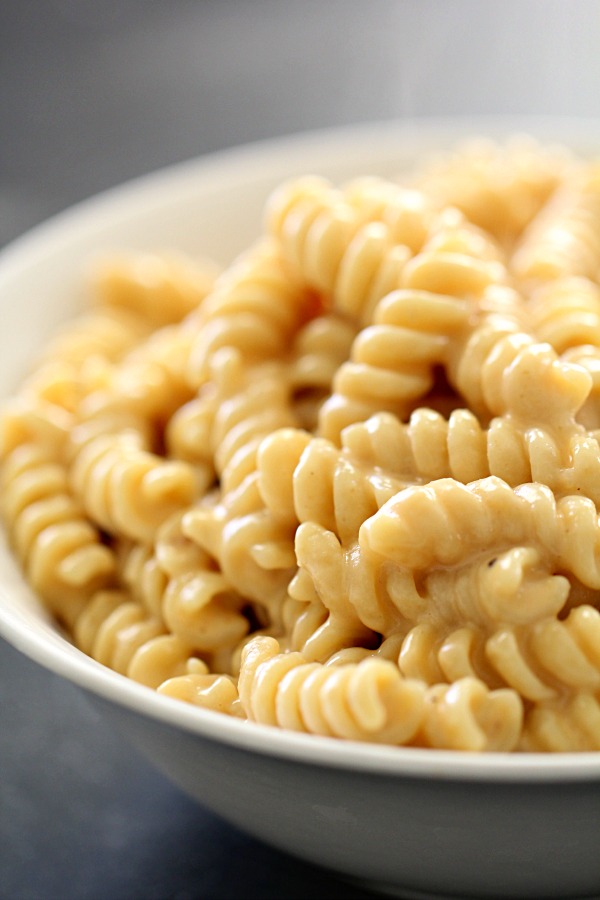
Healthier Mac and Cheese {Macro Friendly}
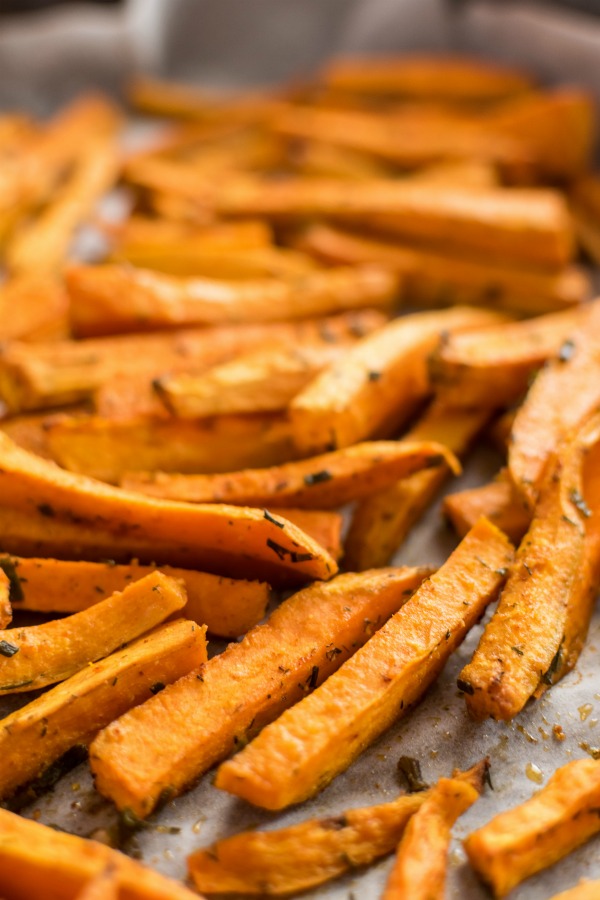
Crispy Oven-Baked Sweet Potato Fries
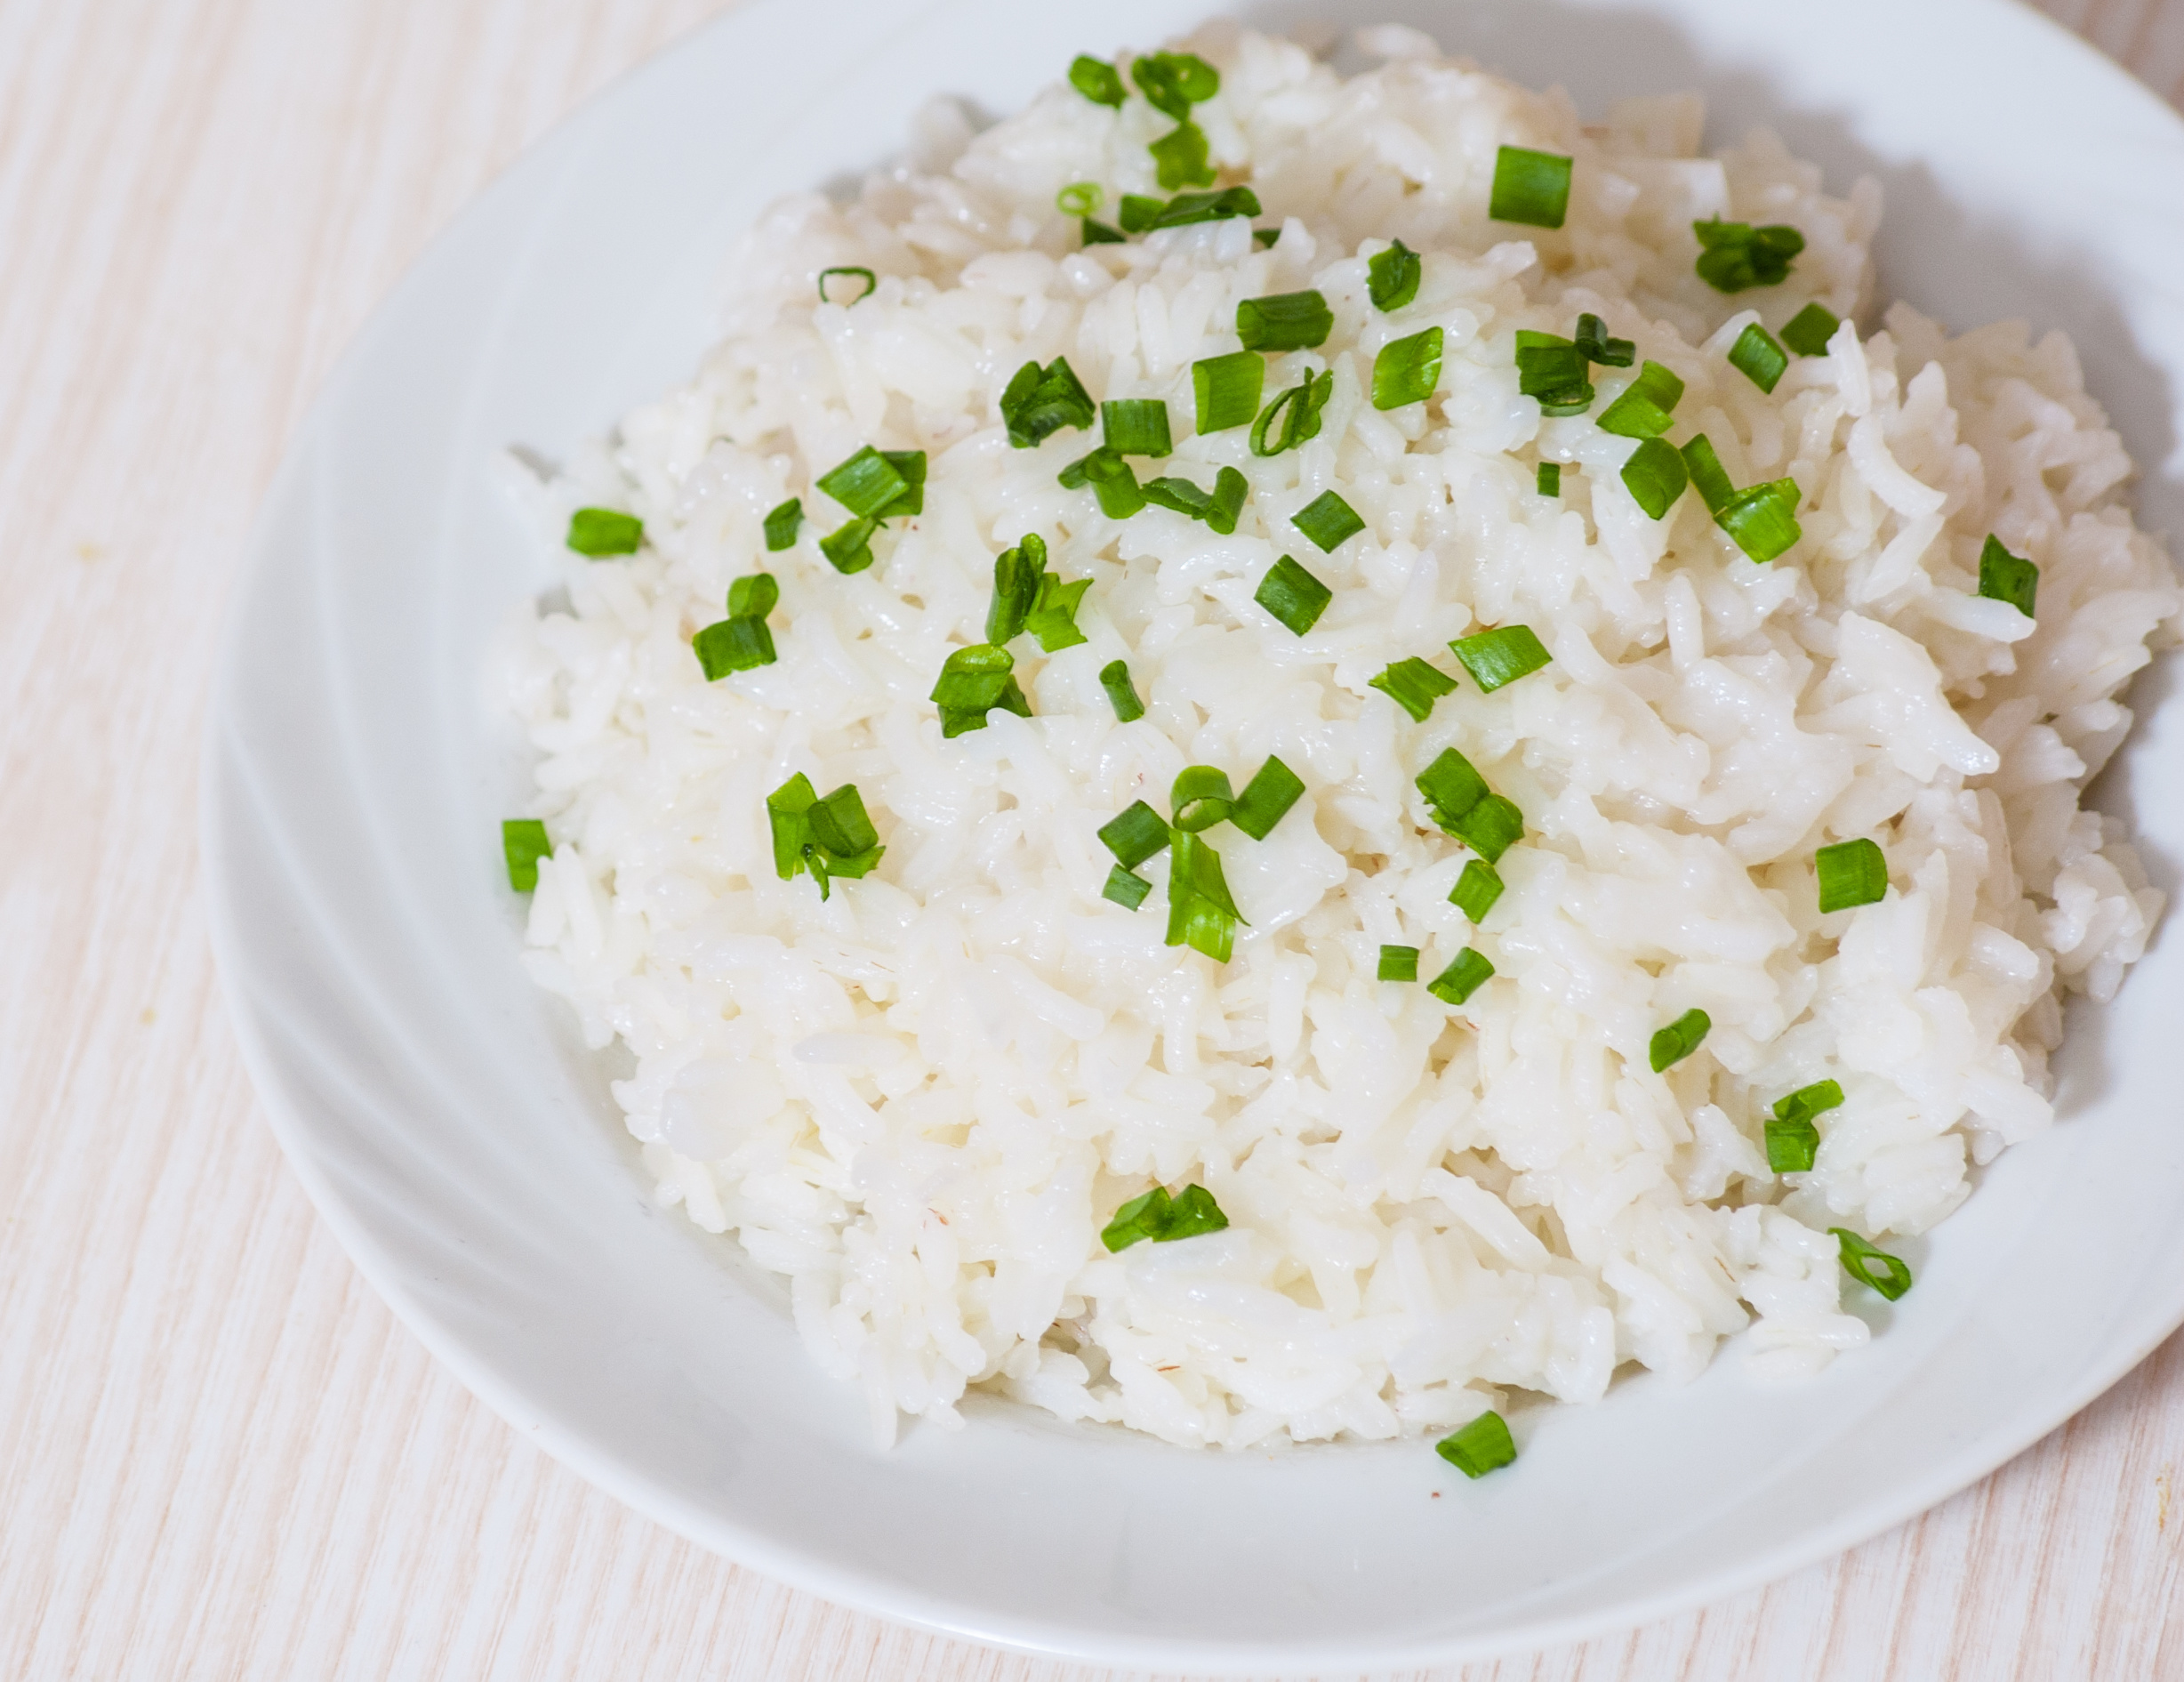
Easy Herbed Rice
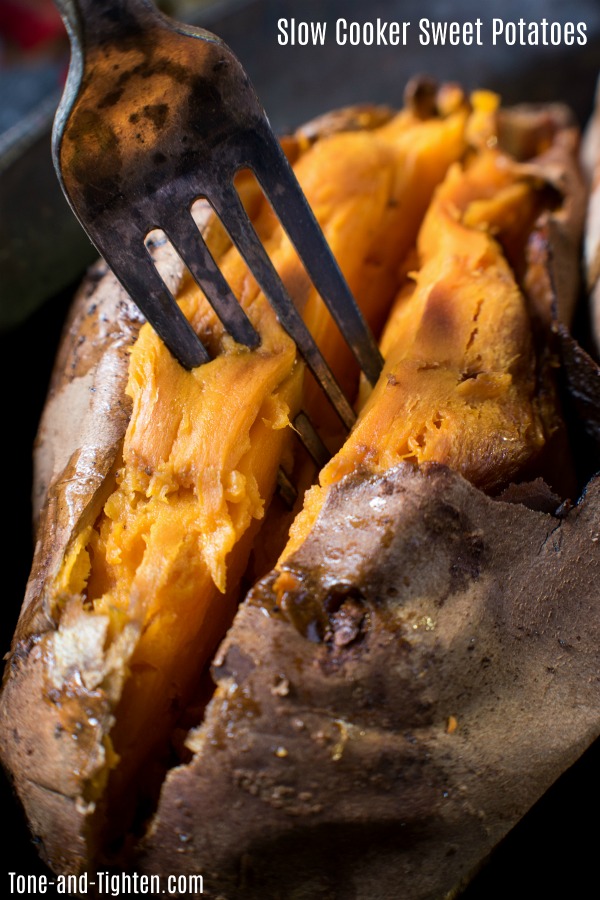
Slow Cooker Sweet Potatoes
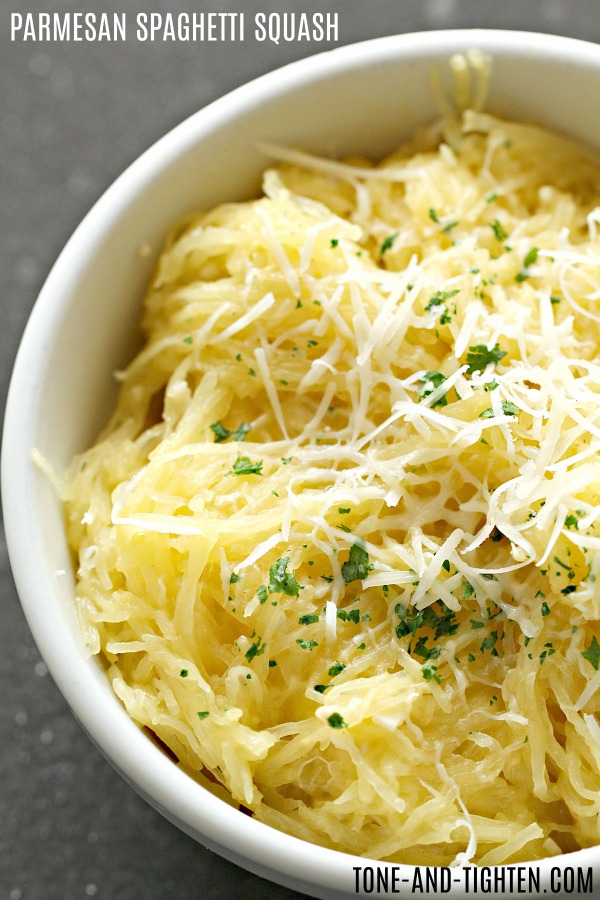
Parmesan Spaghetti Squash
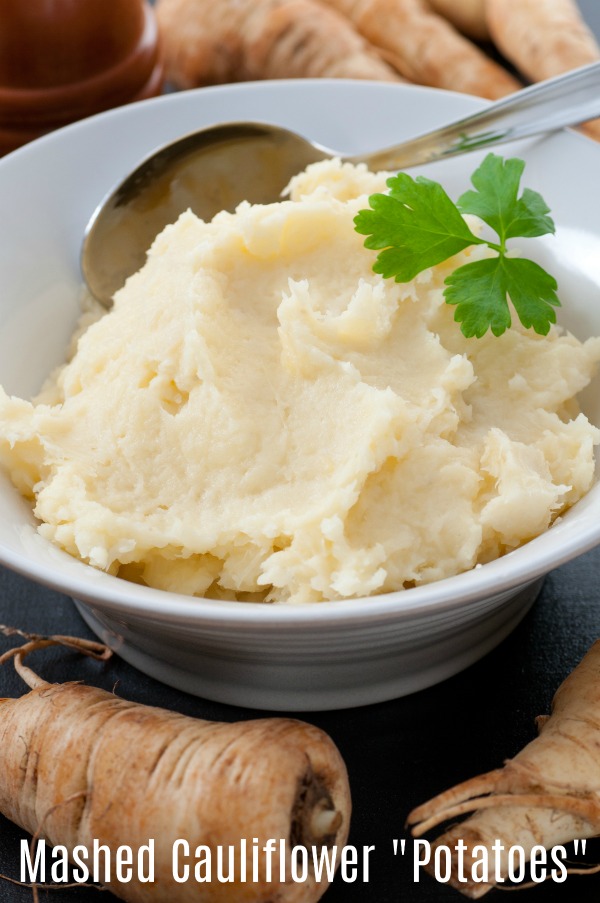
Mashed Garlic Cauliflower “Potatoes”
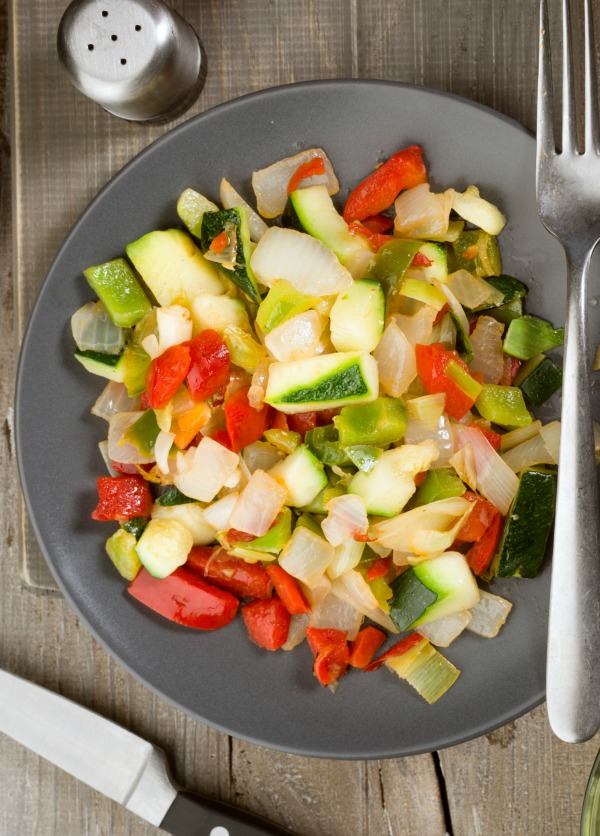
Easy Sauteed Vegetable Medley
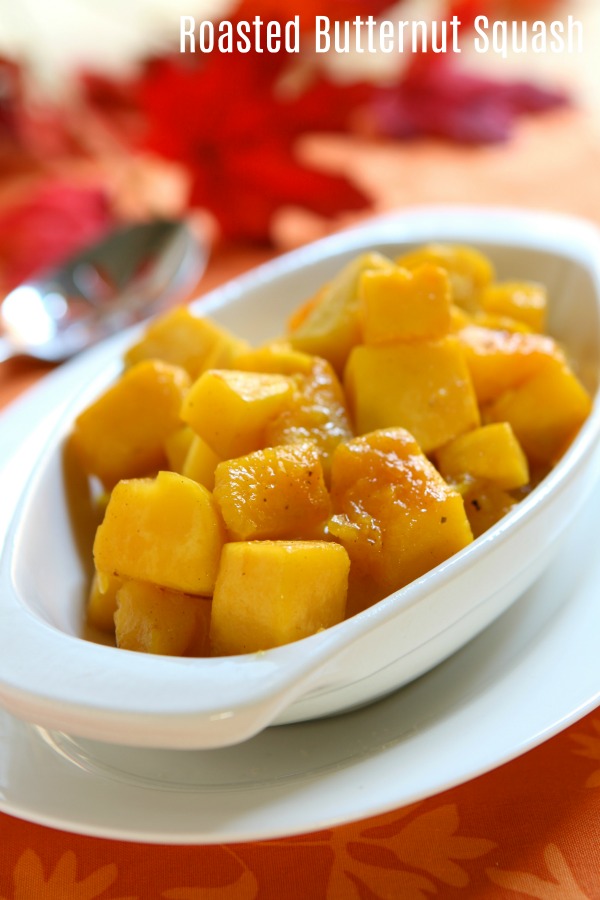
Roasted Butternut Squash
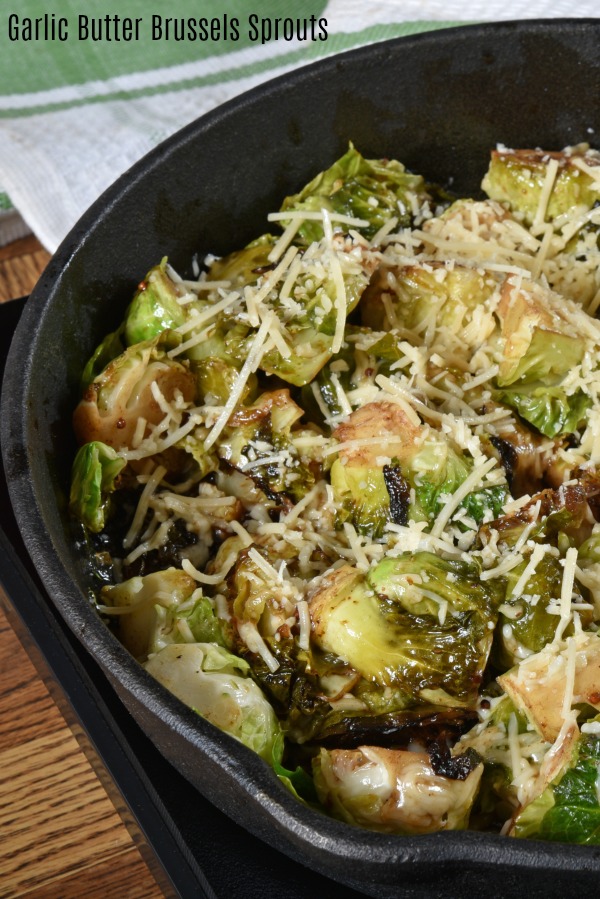
Garlic Butter Brussels Sprouts
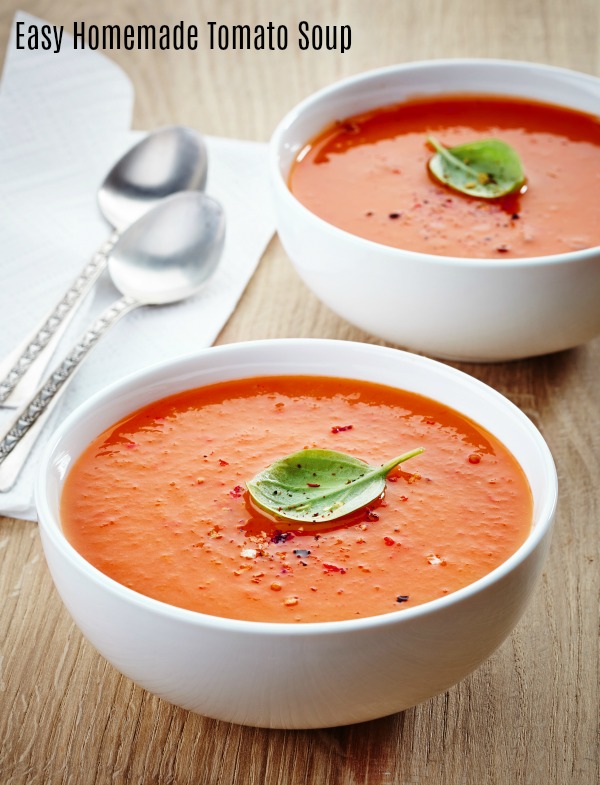
Easy Homemade Tomato Soup
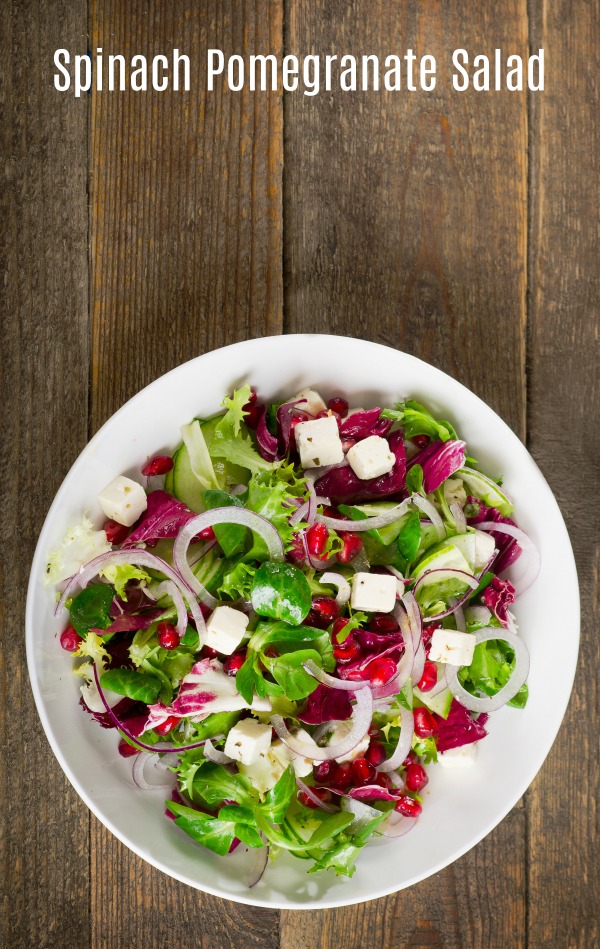
Spinach Pomegranate Salad
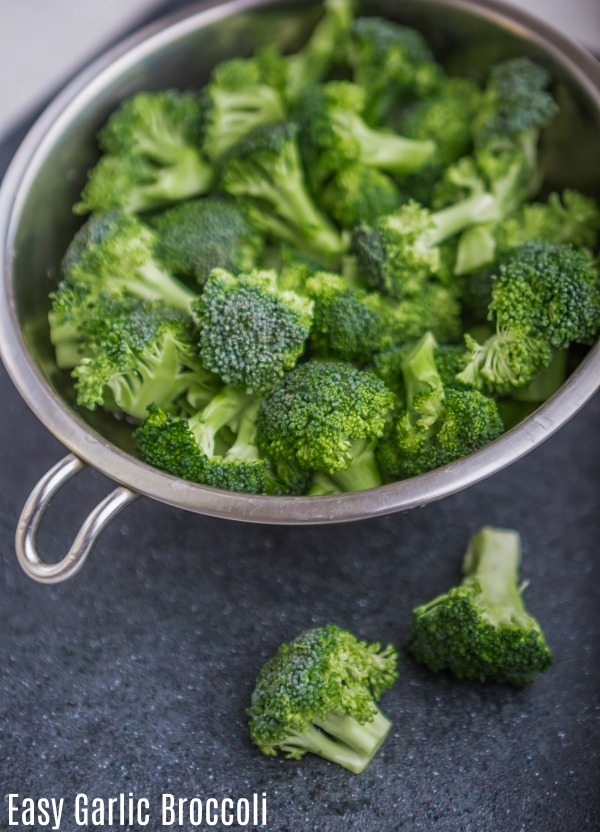
Easy Garlic Broccoli